How to use Survival NPC - Michael "Mike" Davies with Advanced Locomotion System V4
How to Set up Survival NPC - Michael "Mike" Davies, by Yartawah Interactive, with the Advanced Locomotion System V4 in Unreal Engine 5.0.
7. Missing Bone Surgery
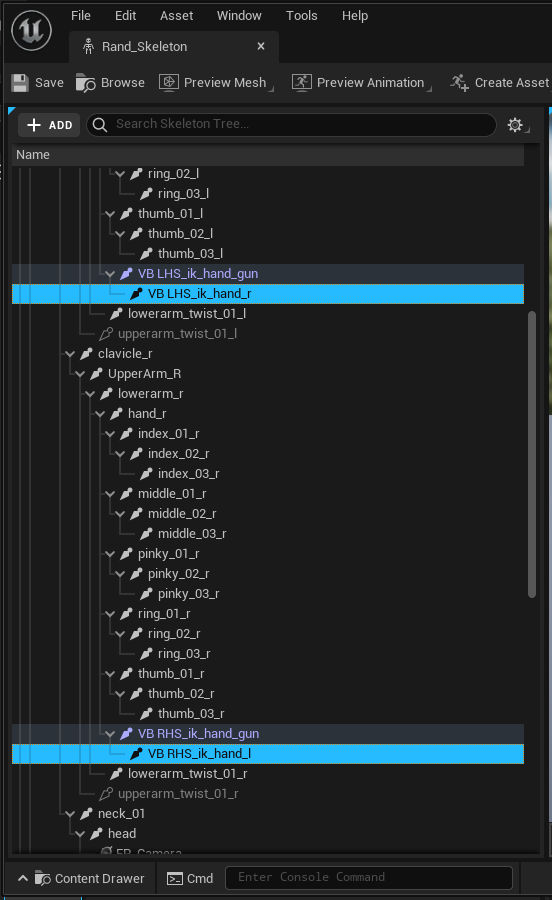
The first time you open the skeleton for your character you will get an alert telling you that it is missing necessary bones which Unreal Engine will add for you, so you might as well get that surgery over with now by opening the skeleton, letting it add the bones, then closing it.
The added bones are:
8. Creating your _AnimBP
Browse to:
Content>AdvancedLocomotionV4>CharacterAssets>MannequinSkeleton
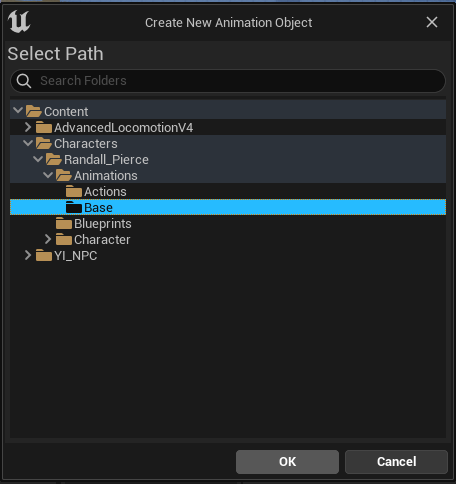
You will want top right-click on ALS_AnimBP and in the popup menu go to:
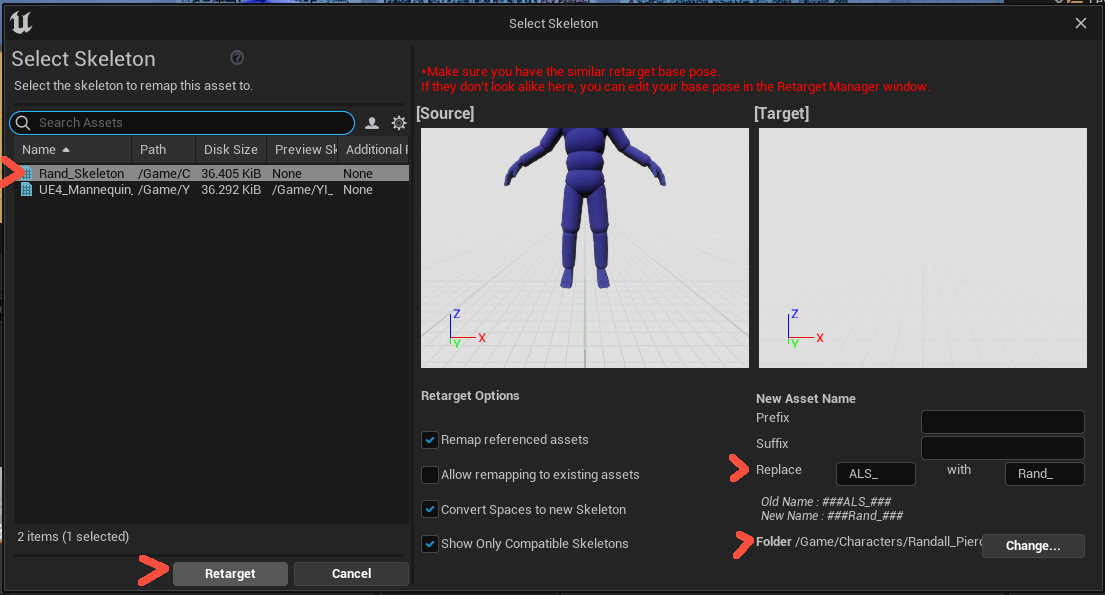
Retarget Anim Blueprints > Duplicate Anim Blueprints and Retarget
Click on Retarget.
Click on Save All.
9. Creating your _CharacterBP
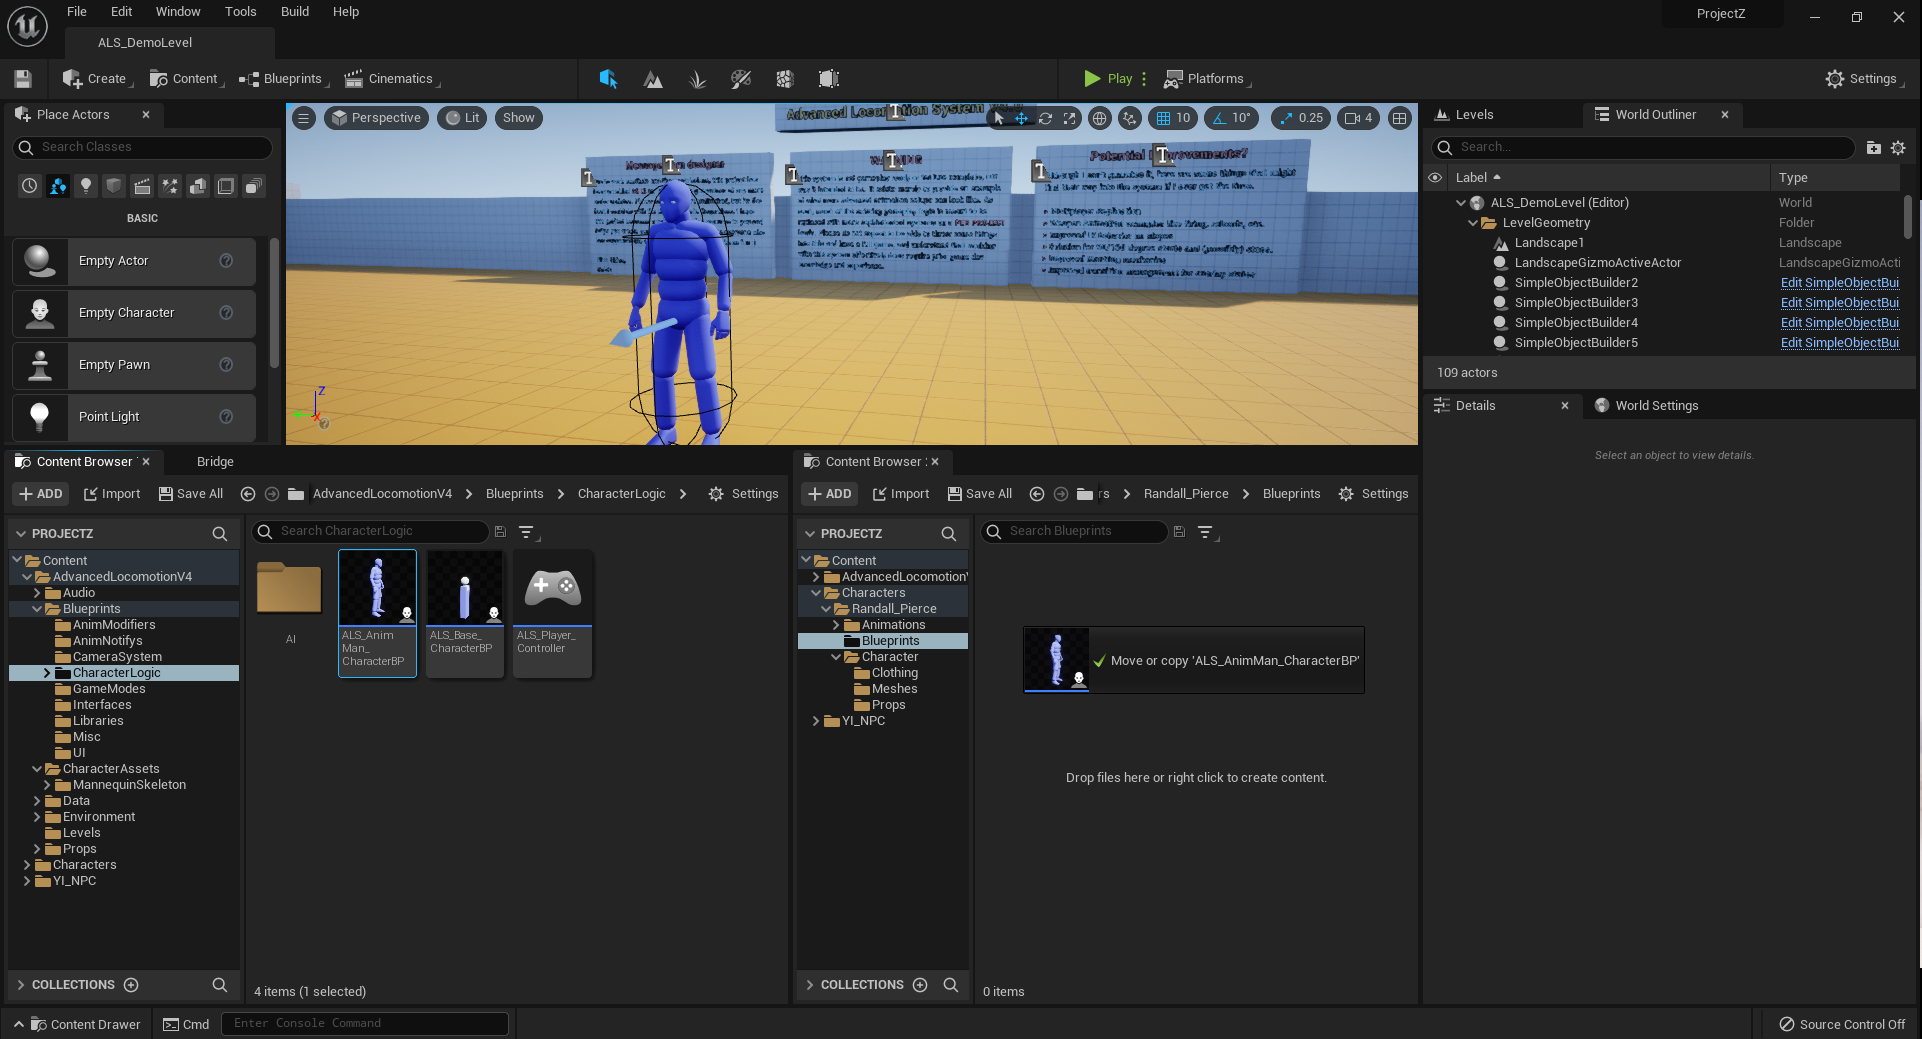
In Content Browser 1 browse to:
Content > AdvancedLocomotionV4>CharacterAssets>Blueprints>CharacterLogic
In Content Browser 2 browse to:
Content>Characters>Randall_Pierce>Blueprints
Drag the ALS_AnimMan_CharacterBP into Content Browser 2 and drop it there, selecting "Copy" in the pop-up menu, then rename it: Rand_CharacterBP
10. Editing the _CharacterBP
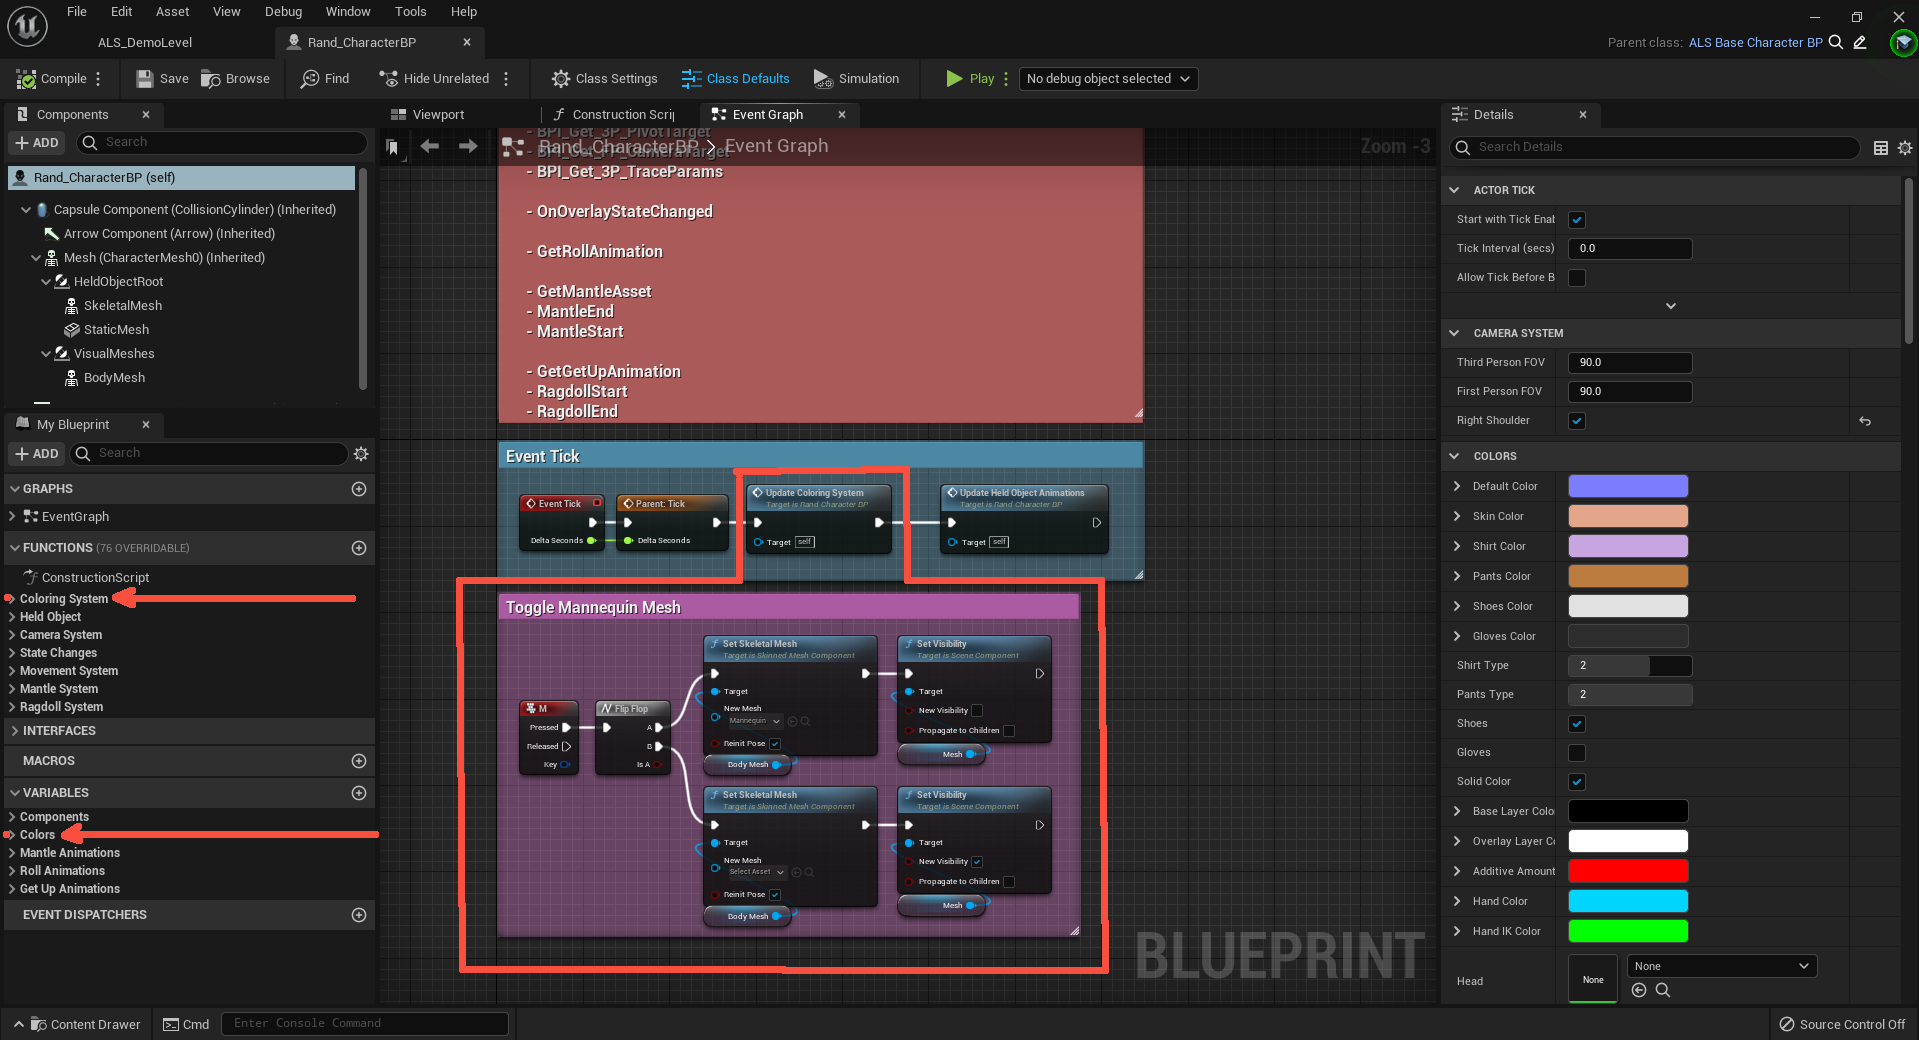
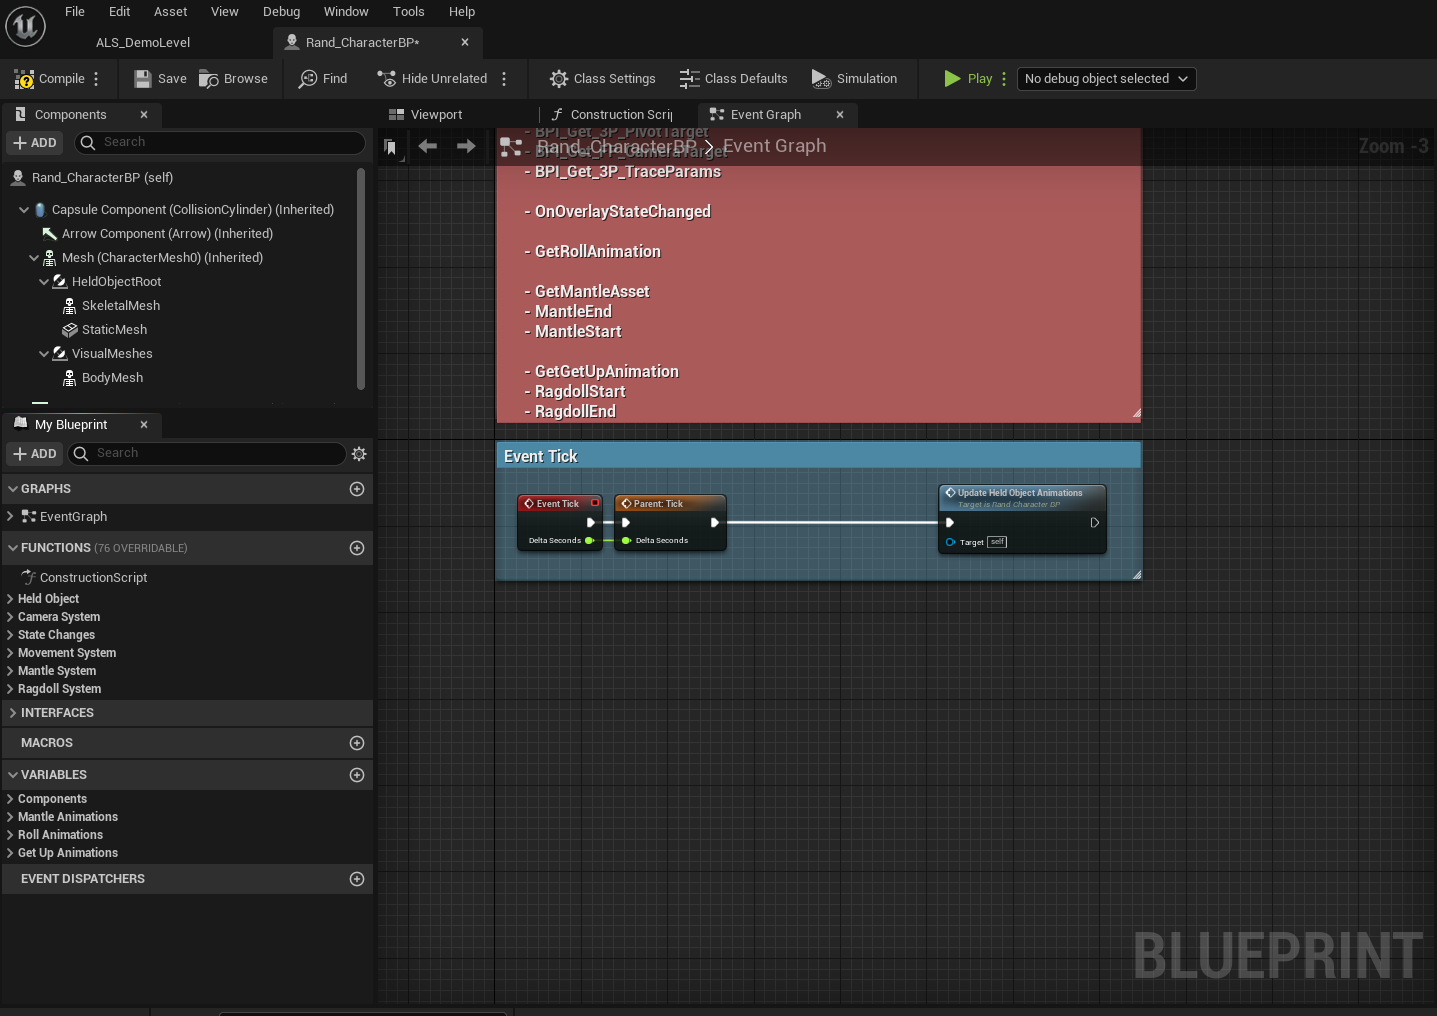
You want to open the Character BP and delete the items that I have marked with red in the top picture to the right. Then connect the Parent: Tick node back up to the Update Held Object Animations node, so that your Blueprint looks like the second image.
In the main nodes panel you are deleting:
Then in the My Blueprint menu on the left you are going to delete:
11. Construction Script
Open the Construction Script window.
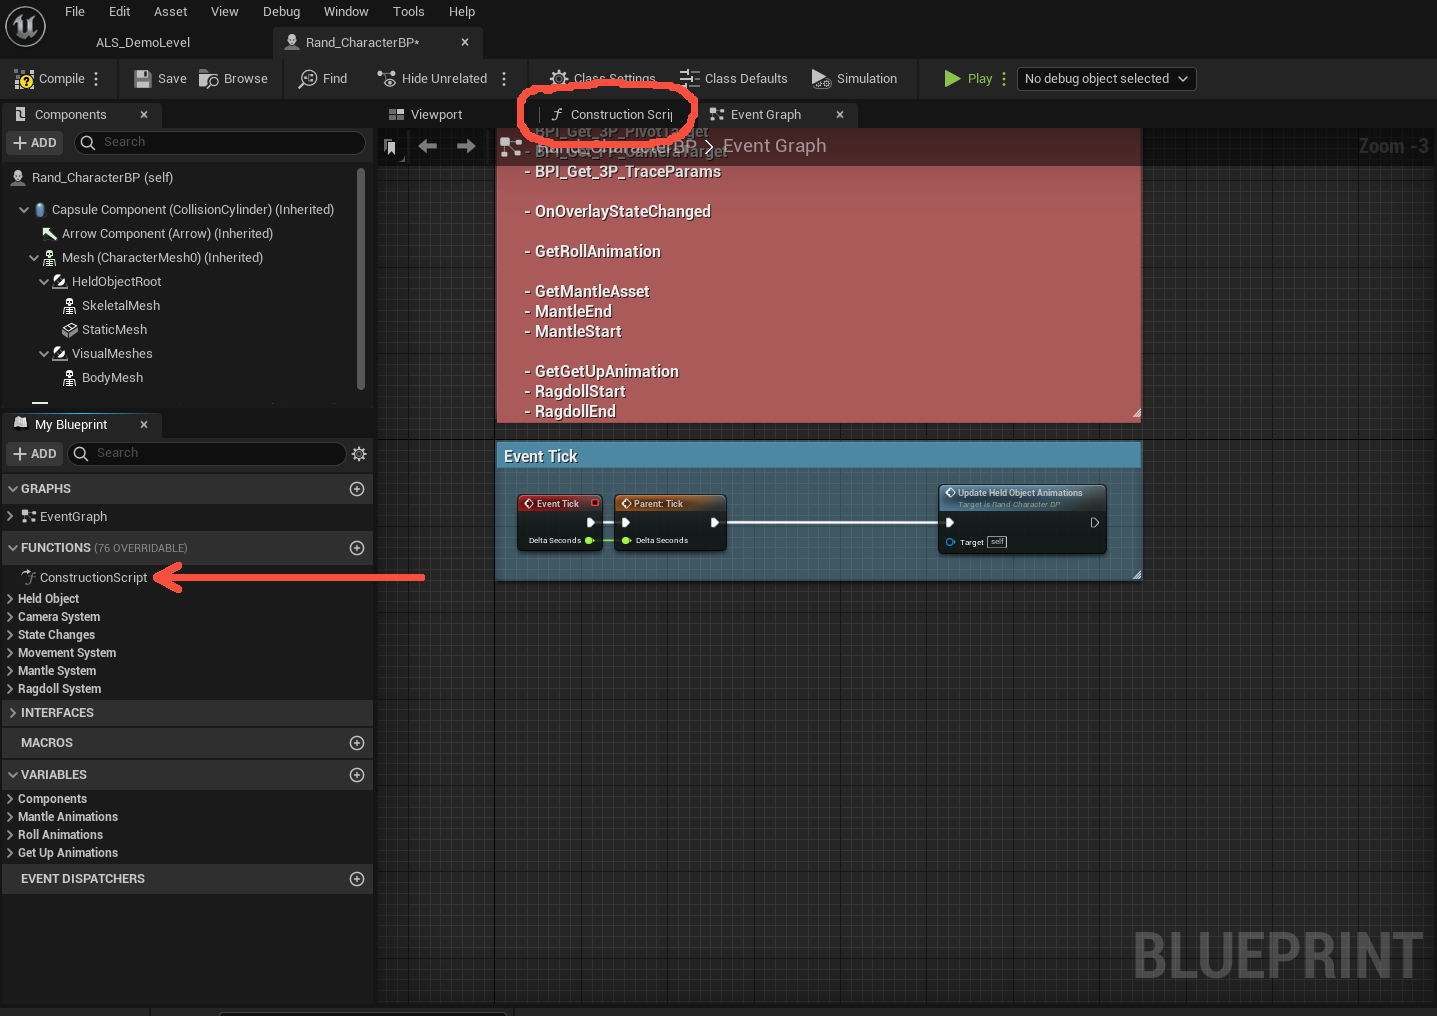
You can either click on the tab Construction Script at the top of the Blueprint panel or if you do not have that there you can open it in the menu on the left side of t he screen under the Functions menu.
Delete the last two nodes (outlined in orange below).

Compile and Save
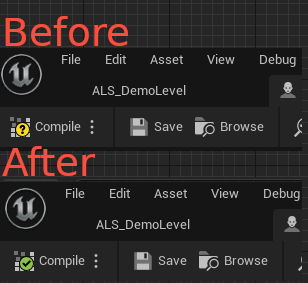
The image to the right shows how the compile icon will look before and after you have compiled your changes.
